Set Up Customer Recognition Tag
The FullContact customer recogntion tag will attempt to resolve anonymous visitors in real-time, down to an anonymous personID and store it in cookie or localStorage. This guide will walk you through how to generate a customer recognition tag so that it can be placed on one or more website. You can read more about resolve's feature set in the Resolve Overview.
High Level Architecture

Steps
1. Navigate to Platform
Create a FullContact account, if you haven’t already. This will enable you to use the FullContact Platform to set up your Customer Recognition tag.
Once your account has been created and properly provisioned, navigate to the Customer Recognition section and follow the tag setup instructions.

2. Add Domains
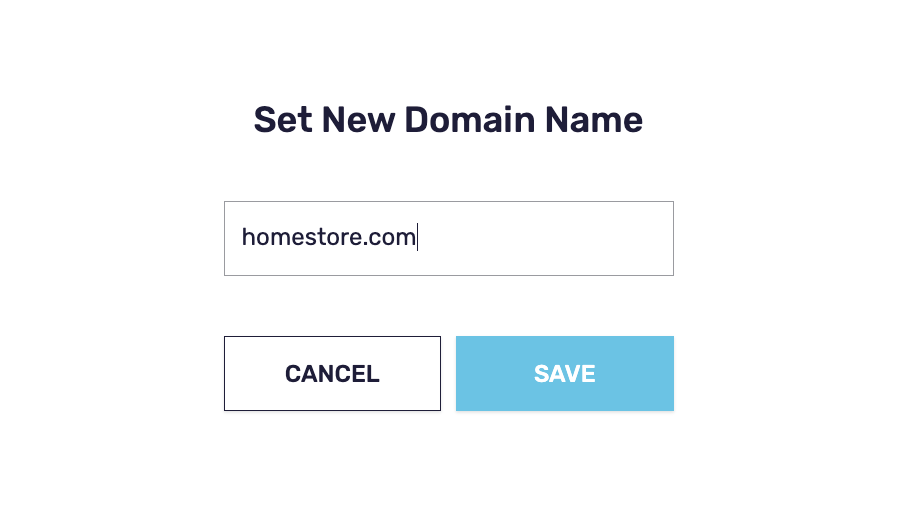
Click Add Domain and follow the prompt. This should be the domain where the FullContact tag will be embedded.
Ex: homestore.com is where the tag will be embedded, so we put that domain in the input field.
Note: If the tag will be placed on more than one domain, repeat this step for each additional domain.

3. Generate Tag Key
Click Generate Tag Key and Snippet and follow the prompt.
You will be asked to name your new tag key. You will also be asked how you would like to store the returned PersonID (cookie or local storage).
(optional) If you would like to add a callback function to handle the PersonID, you can add it in the prompted code block, it will be integrated into the tag.

4. Place Key in Tag Manager/Website
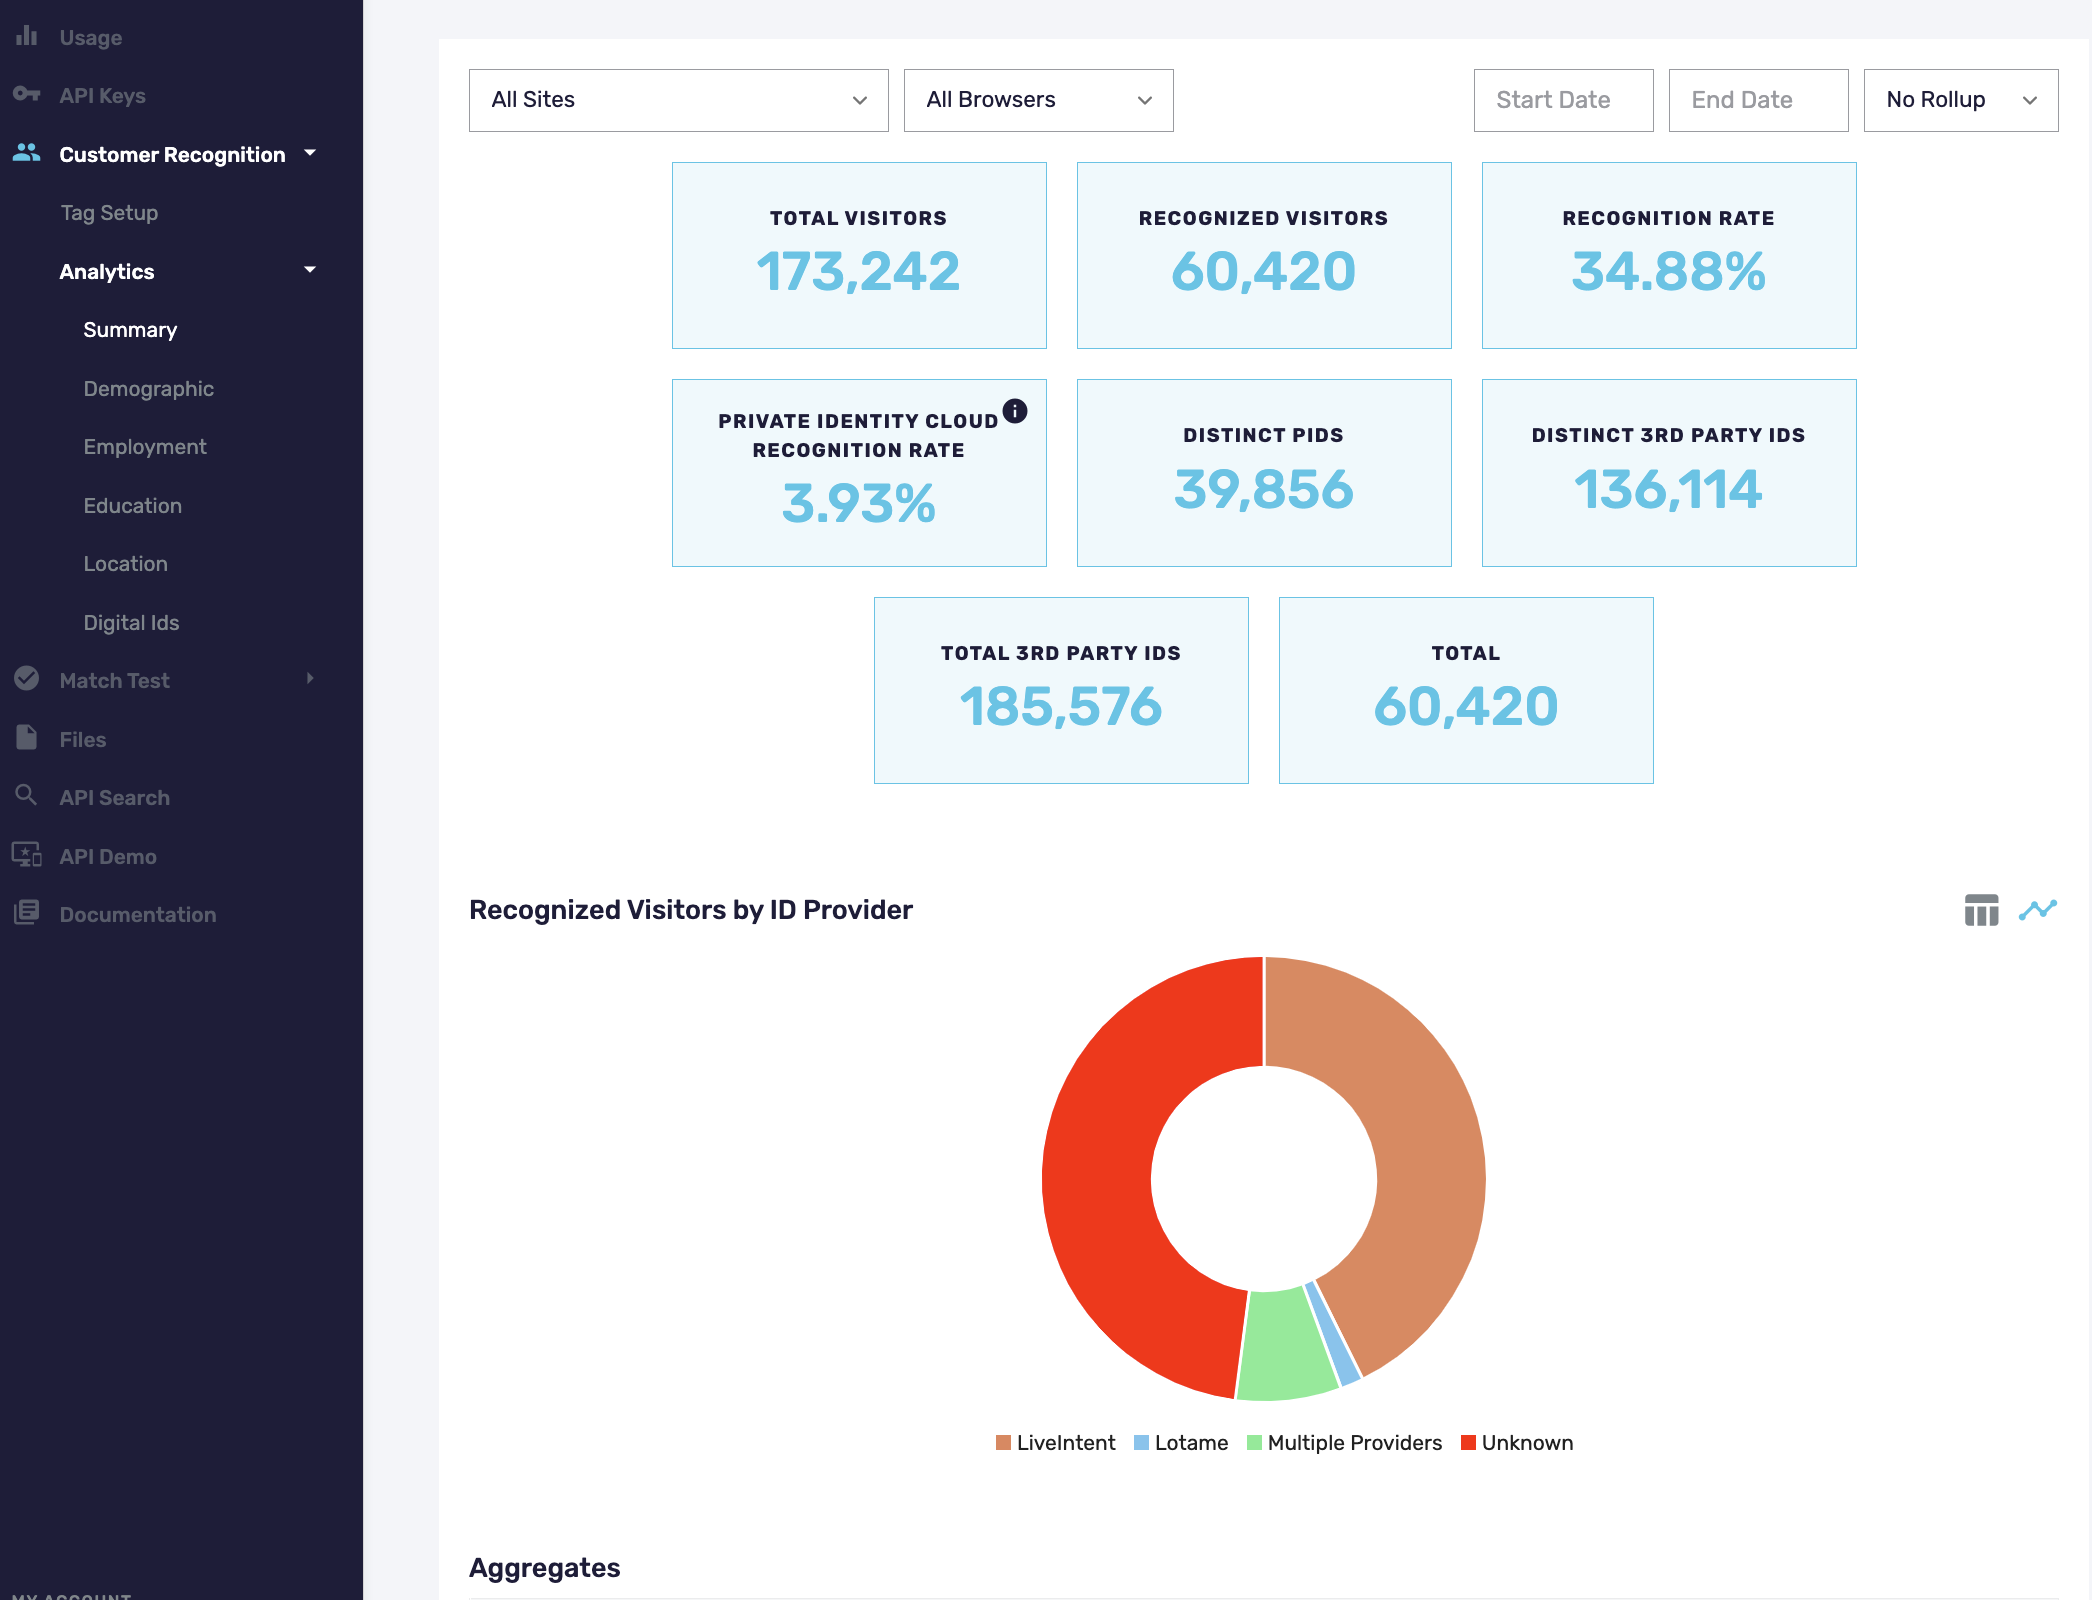
At this point you can place your copied key into your tag manager or website. You can verify that the tag is working by navigating to the Analytics section of the Customer Recognition nav menu.

Integrating with a Tag Manager
Google Tag Manager
Here’s an example of adding the FullContact tag to Google Tag Manager. Create a new tag, and under Tag Configuration, select Custom HTML. Paste your generated FC Tag and give it an appropriate name. The tag is now set up to use with Google Analytics.
